SuperSeller Blog
How to Add an AI Chatbot to Your WooCommerce Store (Complete 2026 Guide)
Customers ask the same five questions every day. Here is how to install an AI chatbot for WooCommerce, sync your full product catalog, and turn it into automated customer support that actually knows what you sell.
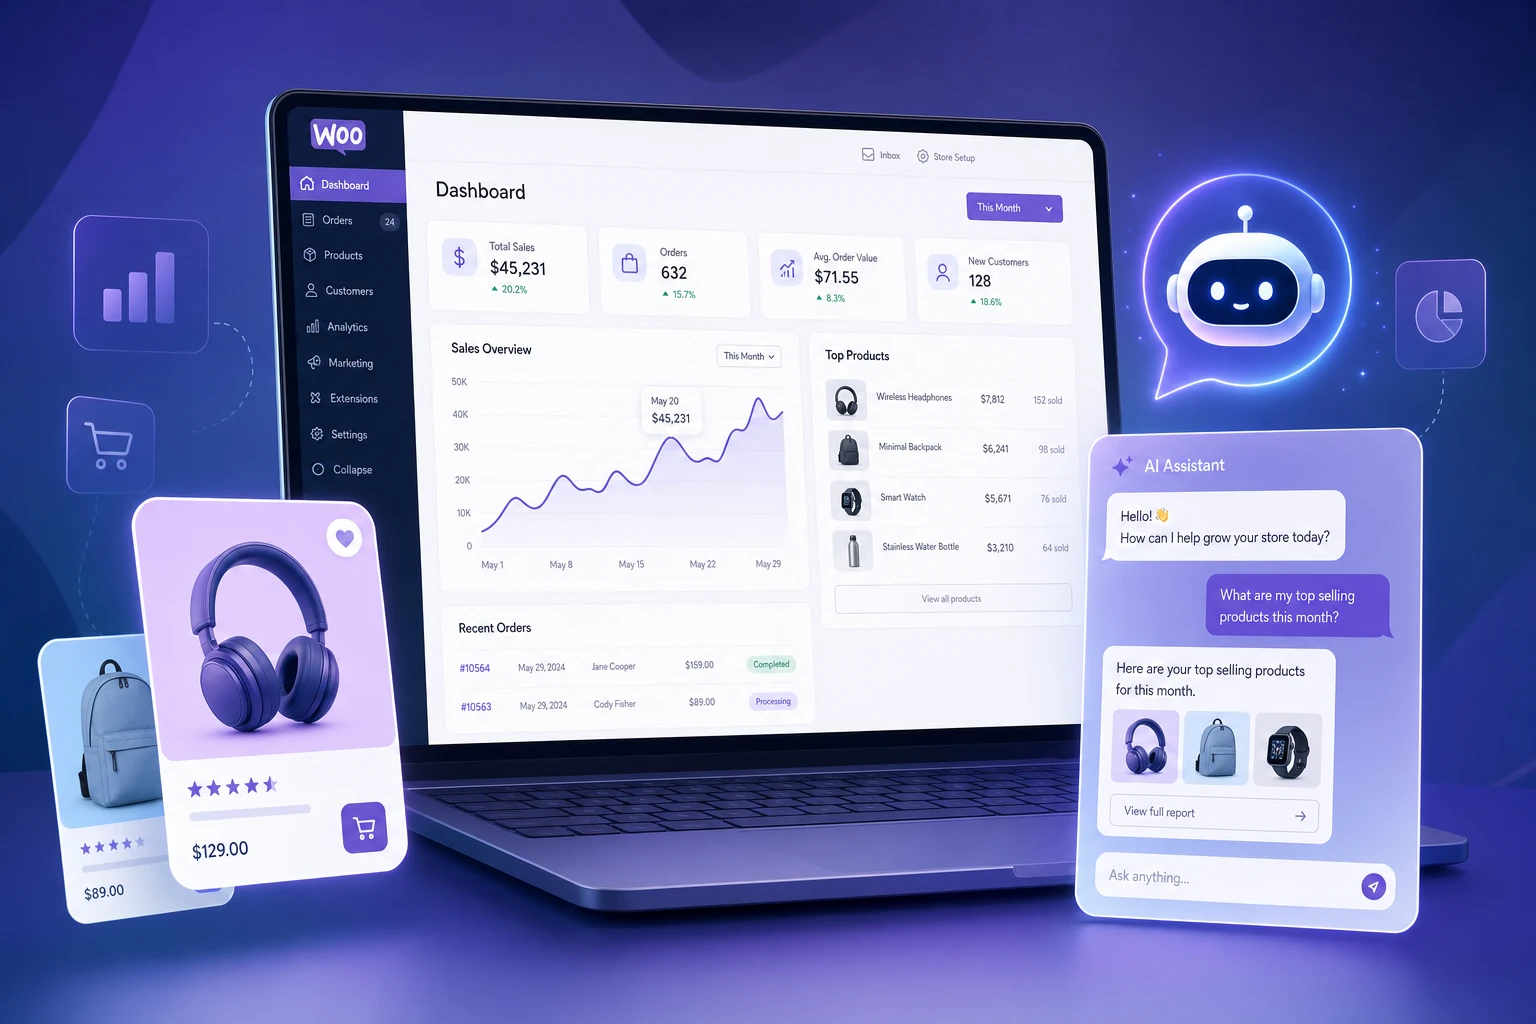
Updated September 8, 2026: setup checked against plugin 1.2.1. Start with the Free plan and follow the current WooCommerce setup documentation.
If you run a WooCommerce store, your inbox already tells the story. The same five questions, every single day. "Do you ship to Canada?" "What is your return policy?" "Which of these jackets is warmer?" "Is this in stock in size M?" "Can I get a discount on bulk?"
You can keep answering them by hand (slow, hates scaling) or install a generic WooCommerce chatbot plugin that gives canned answers because it has no idea what you sell. Neither works very well.
A proper AI chatbot for WooCommerce needs three things to actually be useful: it needs to know your full product catalog, it needs to know your shipping and return policies, and it needs to recommend specific products instead of dumping someone on a category page. That is what this guide walks you through — installing SuperSeller for WooCommerce, syncing your catalog, and putting the widget on your storefront.
Total setup time is around 15 minutes if your API key paste-and-test goes well on the first try.
Why bother adding an AI chatbot to WooCommerce?
Skip this if you already know. If you are not sure whether it is worth it, here is the honest answer.
The real value is not "deflect support tickets" (the marketing line every chatbot vendor leads with). It is product recommendations. A WooCommerce store with 200+ SKUs is hard to browse on mobile. Most visitors land on a category page, scroll for ten seconds, and leave. A chatbot that can say "based on what you said, get the ProX-500 over the ProX-300 because better low-light performance" converts much better than "check our camera section."
The secondary value is customer support automation. Shipping questions, return policy, sizing — these are 80% of pre-purchase questions and they all have the same answer every time. Once your AI assistant knows the policies, you stop typing them out at 11pm.
If you answer 10+ support emails per day, an AI chatbot for WooCommerce pays for itself in saved time. If you get two emails per week, probably not yet.
What you need before you start
- WordPress 5.8 or newer (most stores are on 6.x by now)
- WooCommerce installed and active
- PHP 7.4 or higher (8.x recommended)
- Outbound HTTPS allowed from your server (most hosts allow this by default)
- A SuperSeller account with an active 14-day free trial or paid plan
That is it. No separate AI subscription, no API key from OpenAI, no developer required.
Step 1: Install the WooCommerce chatbot plugin
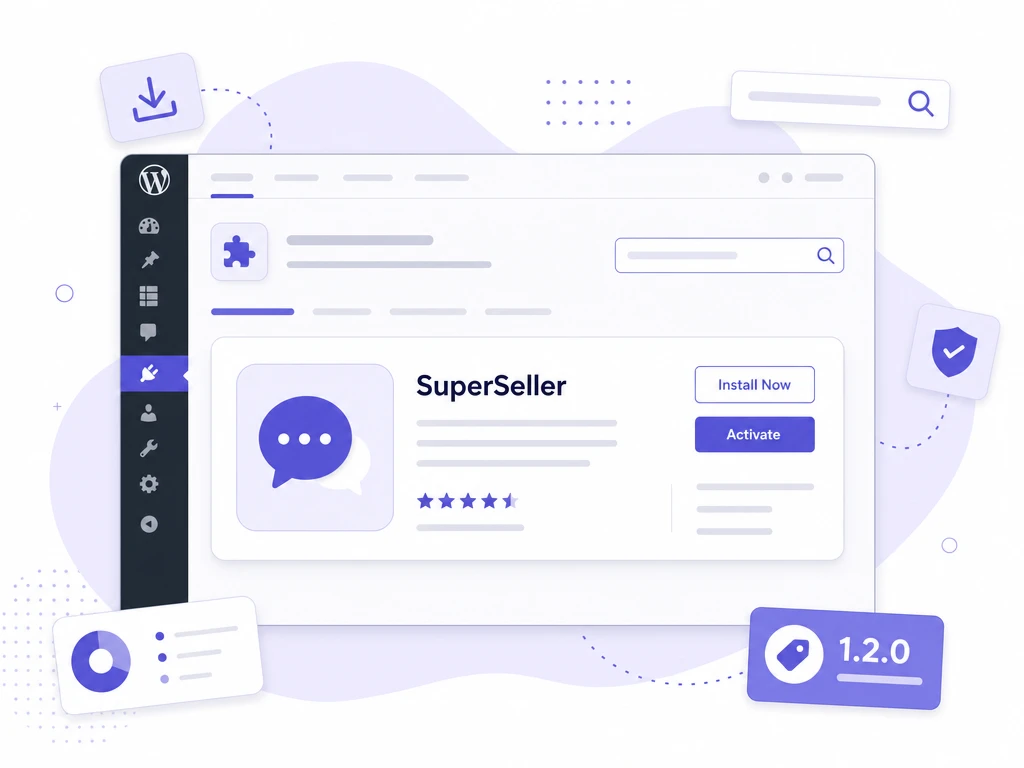
You have two install paths. Pick whichever you find easier.
Option A: Install from WordPress.org (recommended)
- Open your WordPress admin and go to Plugins → Add New
- Search for "SuperSeller" and choose SuperSeller – AI Chatbot for WooCommerce
- Click Install Now, then Activate
WordPress will show plugin updates in the dashboard. Enable auto-updates if you want WordPress to install future releases automatically.
Option B: Manual ZIP upload
- Download the latest ZIP from wordpress.org/plugins/superseller-for-woocommerce
- In WordPress admin, go to Plugins → Add New → Upload Plugin
- Select the ZIP file and click Install Now
- Click Activate Plugin after install finishes
Once active, the plugin adds a top-level SuperSeller menu with Settings and Knowledge Base.
Step 2: Create a SuperSeller API key
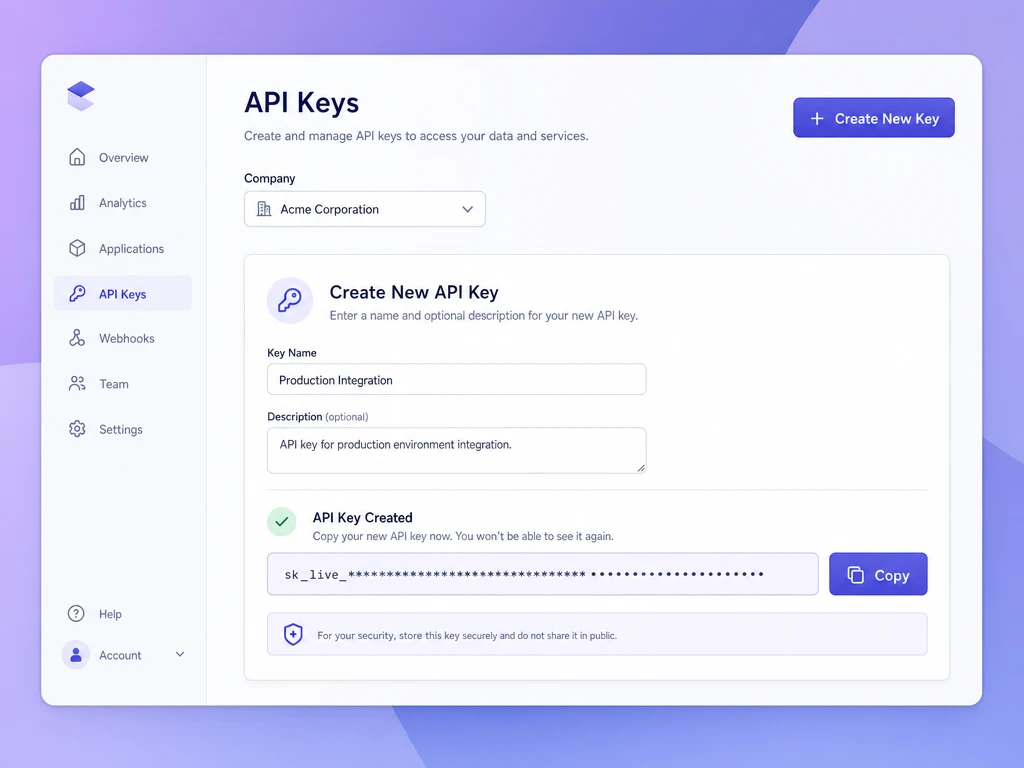
The plugin needs an API key so it can talk to SuperSeller on behalf of your store. The key represents one company in your SuperSeller dashboard — usually one WooCommerce store = one company = one key.
- Sign in at superseller.online/dashboard
- Go to Companies and create a company that represents this WooCommerce store (or pick an existing one)
- Select that company using the dashboard company switcher, then open API Keys
- Click Create New Key, give it a name and create it
- Copy the full key, starting with
sk_live_. It belongs to the selected company
The key only shows once. Paste it somewhere safe before you close the dialog. If you lose it, just create a new key and delete the old one.
Step 3: Connect the plugin to your SuperSeller account
- In WordPress admin, go to SuperSeller → Settings
- Paste the API key into the API Key field
- Click Test Connection
If the key is valid, you will see "Connected to: [Your Company Name]" in green. That confirms the plugin can reach the SuperSeller API and is bound to the correct company.
If it fails, the most common causes are an extra space at the start or end of the key, missing the sk_live_ prefix, or your server blocking outbound HTTPS. The troubleshooting section below covers these.
Step 4: Enable WooCommerce product sync
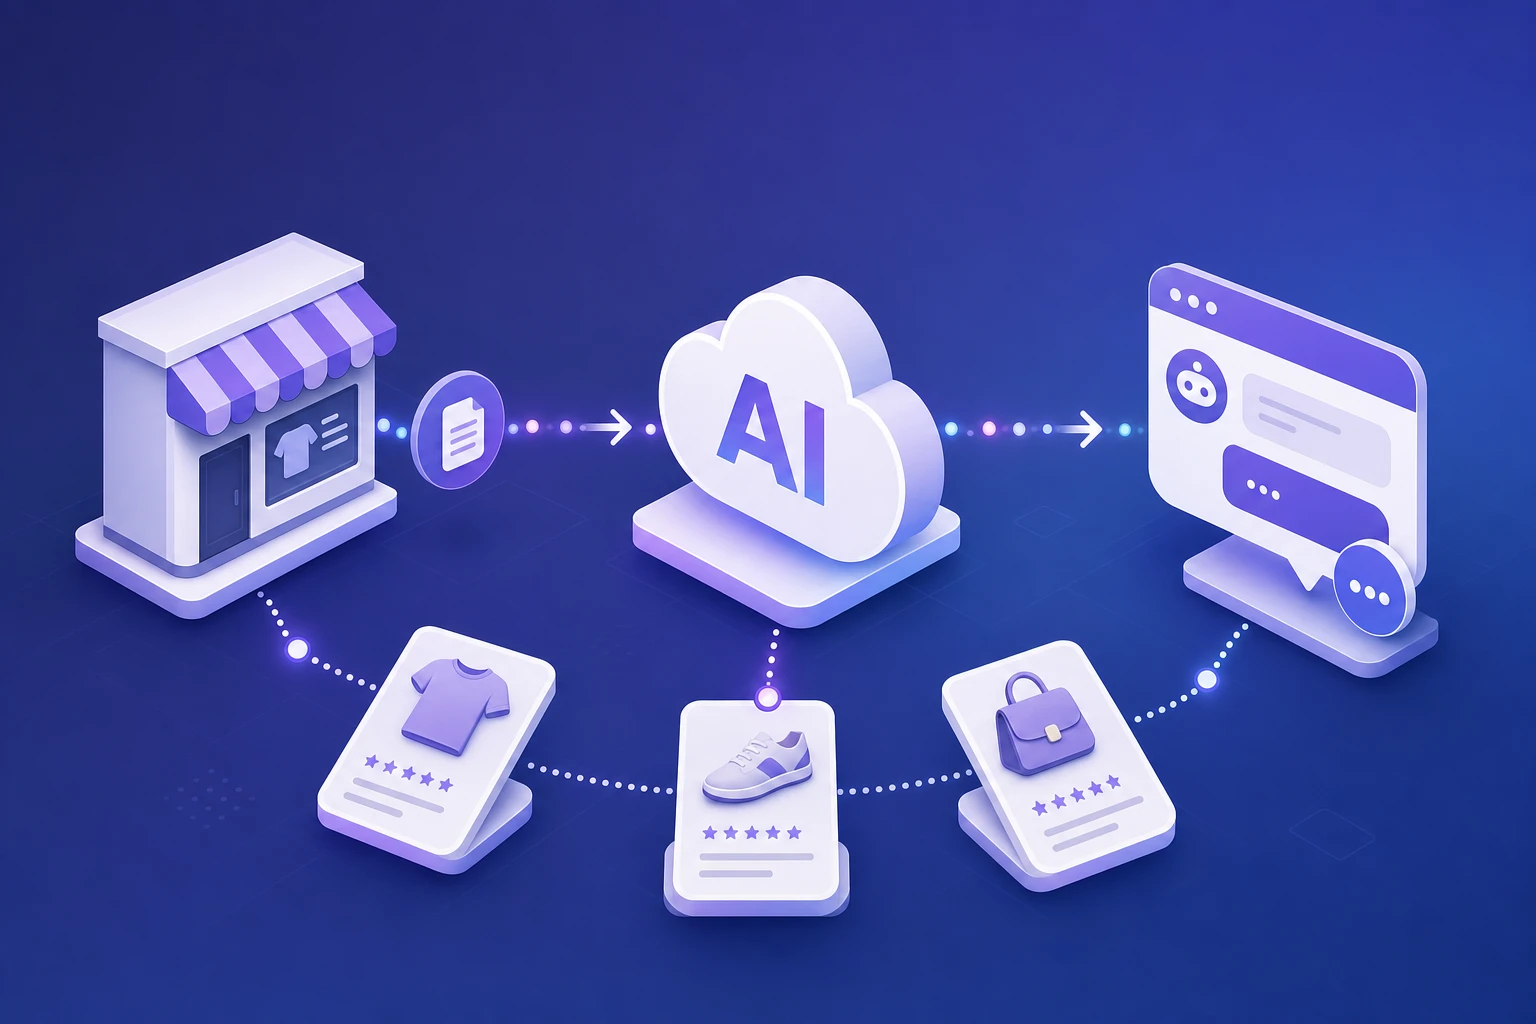
This is the part that makes the chatbot useful. Product sync sends your full WooCommerce catalog to SuperSeller so the AI can search it, compare items, and recommend the right product for what the customer asked.
- Tick Privacy Consent before enabling data sharing. Testing or saving a key verifies the connection first; it does not upload your catalog.
- Enable Automatic Product Sync
- Click Save Settings
- In SuperSeller → Settings, click Sync All Products Now
Wait for the first import to complete and check the progress card for errors. Duration depends on catalog size, hosting resources and API availability. Later product, variation and stock changes queue background updates. Variations refresh the parent product; withdrawn, hidden or deleted products are removed from the synced catalog. Check WooCommerce → Status → Scheduled Actions if updates are delayed.
What gets sent to SuperSeller
- Product name
- Product description (short + long)
- Price and sale price
- SKU
- Stock status
- Product image URLs (the image stays on your server — only the URL is sent)
- Categories
Other optional data flows
Catalog sync does not send customer order records. Selected knowledge can include your store address or contact email. When enabled, the storefront widget processes visitor messages, page context and a browser visitor identifier.
Conversion tracking is a separate option, off by default. Enabling it with saved privacy consent and the widget sends paid order IDs, totals and currencies for attribution. The plugin does not send billing addresses or payment-card fields. Configure your privacy notice and any required visitor consent before enabling sharing.
Step 5: Add your store policies (recommended)
Product sync makes the AI know what you sell. The knowledge base makes it know how you sell it — shipping, returns, payment methods, contact info, sizing guides, the policies customers ask about before buying.
Go to SuperSeller → Knowledge Base. You have two options:
Manual entries
Add entries one by one for the topics you get asked about most: shipping rates, return policy, warranty terms, contact info, store hours, size charts, anything specific to your products.
Sync existing WordPress pages
If you already have Shipping, Returns, About Us, or FAQ pages on your site, use the page picker. Pick the pages → click sync → the plugin extracts the text content and turns each page into a knowledge base entry. Re-syncing the same page overwrites the previous version. Run this again after editing a page; page edits are not synced automatically. Permanently deleting a synced page queues its removal while consent and the connection remain valid. Trashing or unpublishing it does not remove the knowledge entry.
This is the single biggest quality lever you have. A chatbot with detailed knowledge base entries gives precise answers. A chatbot with empty knowledge base falls back to generic responses and feels useless.
Step 6: Enable the storefront chat widget
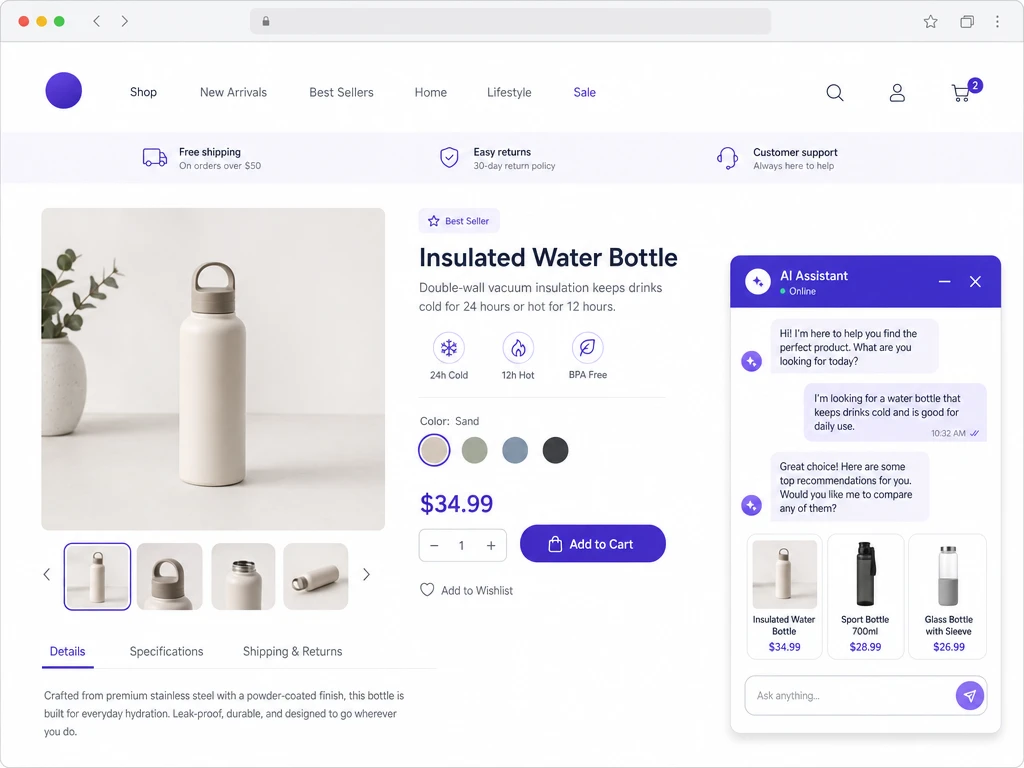
The widget is the visible part — the chat bubble in the bottom right corner of your storefront. It is optional. Some merchants use SuperSeller purely for back-end product intelligence (search analytics, recommendations API) without showing a widget. Most enable it.
- Go to Settings in the plugin
- Tick Enable Chat Widget
- Click Save Settings
Visit your storefront in a private/incognito window. You should see the chat bubble in the bottom right. Click it — the chatbot greets the visitor and is ready to answer questions.
Configure the assistant appearance and messages in Dashboard → AI Assistant. The WordPress plugin controls widget activation, position and optional branding. No extra manual embed snippet is needed when the plugin widget is enabled.
Troubleshooting common WooCommerce chatbot issues
"Test Connection" fails
Read the connection error shown in the settings page, then check the key and server connection.
- Check that the API key is complete, including the
sk_live_orsk_test_prefix, with no spaces at the start or end. - Make sure the company that owns the key still exists in your dashboard. If you deleted it, the key is dead.
- Confirm your server allows outbound HTTPS to
superseller.online. Some shared hosts block outbound traffic by default. Ask your host or checkphp_info()for cURL availability. - If your host strips one of the auth headers, the plugin sends the key under both
Authorization: BearerandX-API-Key, so you should be covered either way.
Products are not syncing
- Save Privacy Consent before syncing. Connection verification alone does not enable catalog sharing.
- Confirm Automatic Product Sync is on.
- Check the progress or error shown under SuperSeller → Settings and confirm the same company in Dashboard → Products.
- Inspect WooCommerce → Status → Scheduled Actions for failed or pending SuperSeller jobs. Temporary failures receive up to five attempts.
- If a large initial import times out, check hosting memory, request timeout and service limits with your host or SuperSeller support.
The chat widget does not appear on the storefront
- Clear your site cache. Caching plugins are the most common cause — WP Rocket, W3 Total Cache, LiteSpeed Cache all cache the storefront HTML and will not include the new widget script until cache is cleared.
- Confirm Enable Chat Widget is ticked in Settings.
- Open the browser DevTools console on your storefront. JavaScript errors from other plugins can block the widget from initializing.
- If you use a server-level cache (Cloudflare, Varnish, server-level page cache), purge those too.
The chatbot gives bad or generic answers
This almost always comes down to weak product data, not the AI.
- Wait for product sync to finish. If you triggered it 30 seconds ago, the AI does not have your catalog yet.
- Improve your product descriptions. The AI can only describe what is in the product description. "Cotton t-shirt" gives you a generic chatbot. "100% organic cotton, pre-shrunk, slim fit, runs one size smaller than standard US sizing" gives you a chatbot that can answer sizing and fit questions.
- Add knowledge base entries for the recurring questions. If your customers always ask about shipping to Australia, write that down in a knowledge base entry — the AI will start using it.
WooCommerce AI chatbot pricing
SuperSeller charges per conversation, not per user, not per agent seat. A "conversation" is a single chat session — the same visitor sending five messages in a row counts as one conversation.
- Free: 30 conversations per month for one company, no card required
- 14-day paid-plan trial: test higher limits by adding a card; review renewal details at checkout
- Starter: $29/month for 1,000 conversations
- Growth, Business, Pro: higher conversation caps for larger stores
The WordPress plugin is free to install. Start on the SuperSeller Free plan, or choose a paid plan when you need higher limits. Check the pricing page and checkout for current allowances, trial and renewal terms.
Full pricing details on the pricing page.
For the commercial overview, compare this setup with the WooCommerce AI chatbot landing page, the WooCommerce chatbot plugin checklist, and the best AI chatbot for WooCommerce comparison.
Frequently asked questions about AI chatbots for WooCommerce
Is SuperSeller for WooCommerce free?
The plugin is free and open source under GPLv2. The SuperSeller Free plan includes 30 conversations per month for one company, with no card required. Paid plans offer higher limits and a 14-day trial.
Does this work with multilingual stores?
Yes. The chatbot detects the visitor language and responds in the same language. Your product descriptions and knowledge base can stay in your store language — SuperSeller translates on the fly for customer-facing replies.
What privacy controls does the plugin provide?
Sharing controls are off by default and require saved Privacy Consent. Connection verification sends the API key to check its company. The optional widget processes visitor messages and an identifier; separate conversion tracking can send paid order IDs, totals and currencies. Configure the widget privacy settings, your notices and any required visitor consent. Developers can gate conversions through the superseller_conversion_tracking_allowed filter.
Can I disable the widget without losing product sync?
Yes. Widget and product sync are independent toggles. You can run product sync (for analytics, the recommendations API, or a custom chat surface) without ever enabling the public widget.
Does it slow down my WooCommerce store?
Automatic product changes are queued in the background. The widget loads an external script and uses browser resources, while bulk imports use your hosting resources. Test storefront performance with your theme and caching configuration before a full rollout.
Can I customize what the chatbot says when it does not know the answer?
Yes. From your SuperSeller dashboard you can set the fallback message and the bot tone (professional, friendly, casual). You can also direct the chatbot to escalate to a support email when it hits a fallback — useful if you want to capture leads on questions the AI cannot resolve.
What to do next
If you got this far, you have a working AI chatbot for WooCommerce. Two things to do next that genuinely matter:
- Test it from your customer's perspective. Open your store in a private window. Ask the questions your real customers ask. Record missing or incorrect answers, improve the source content and test those questions again.
- Check the analytics after a week. Your SuperSeller dashboard shows what people are asking, where the AI fails, and which products get recommended most. This is useful for both improving the chatbot and understanding what your real customers care about.
Ready to try it? Install SuperSeller for WooCommerce from the WordPress directory, start on the Free plan, or open the WooCommerce product sync docs first if you want the technical flow.
Related reading
- AI Chatbot for E-commerce: The Complete Guide (2026) — the full picture: features, pricing models, and rollout.